When an user starts to become more familiar with the Web Storage Module, some questions can appear. Our team is always working to understand which are the most common of these questions and make them easily solvable on everyday use of Timbeter.
We dedicate this article to the compilation of a report log-by-log, a feature available on Timbeter’s Storage Module for monthly subscription users.
Login to your account on app.timbeter.com and check this step-by-step guide:
1 – Setting up assortments
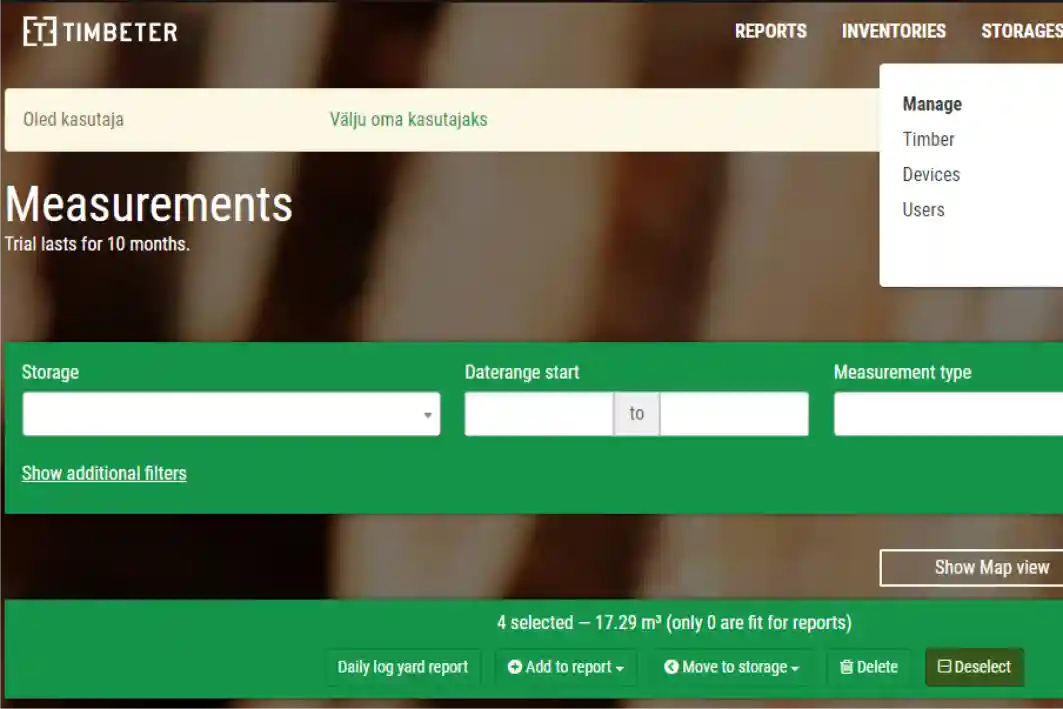
To start the report, it is necessary to have a wood assortment. For that, after logging in to the storage module, click on “Timber” from Settings icon.

Scroll down to “Wood Assortments” and click on “Add wood characteristic”.

You need to name the assortment and click “Add”. To characterize the assortment, please select a wood type, quality, log length, minimum and maximum diameter. You can also set the price of the assortment.

If you have finished, the assortment is ready and will appear also the in the device when you synchronize it.

2 – Compilation of the report
To create a new report, simply click on “Reports” on the dashboard.

Click on “New report”.

Enter the name of the report and select the formula that is used for calculating the volume.
It is important to memorize that you select only the measurements with these specific formulas to the report, which means that, if you have made some measurements in JAS and want to have report in GOST; the system will not allow that, so be careful!
3 – Adding measurements to the report
To add measurements to the report, go to the Dashboard and select the measurements by ticking the box on the left side.

Then, select the report in which measurements will be added.
When the measurements have been added to a report, users can see the status of the reports by selecting from upper menu once again “Reports” and clicking on the report’s name.

All the selected measurements added to the report will appear. If there’s need to add manual measurements to the report, there’s a possibility for that. Select “Add CSV” and upload the CSV file. A CSV file needs to be in a correct format to be added perfectly.
| 2 | 2.5 | 4 |
| 15 | 20 | 15 |
| 17 | 21 | 15 |
| 11 | 20 | 20 |

In the end, systems generates automatic summary.

Then, the report can be saved and shared in PDF-format by clicking on the PDF-icon.
Easy, isn’t it? Let us know if you have any questions!
Are you interested on knowing more features of our web Storage Module? Ask our team for the monthly subscription and have full access to reports, storages, inventories and much more.